The smell of pine, the warmth of indoor heaters, the bright Christmas lights decorating the porches, fresh wreaths and garlands hanging on the doors…Christmas is truly in the air!
With the holiday season fast approaching, Kitchen Mama yet again, invites everyone to showcase their creativity by making a Christmas decorative piece out of trash (empty cans, specifically!) and have the chance to win amazing prizes📱!
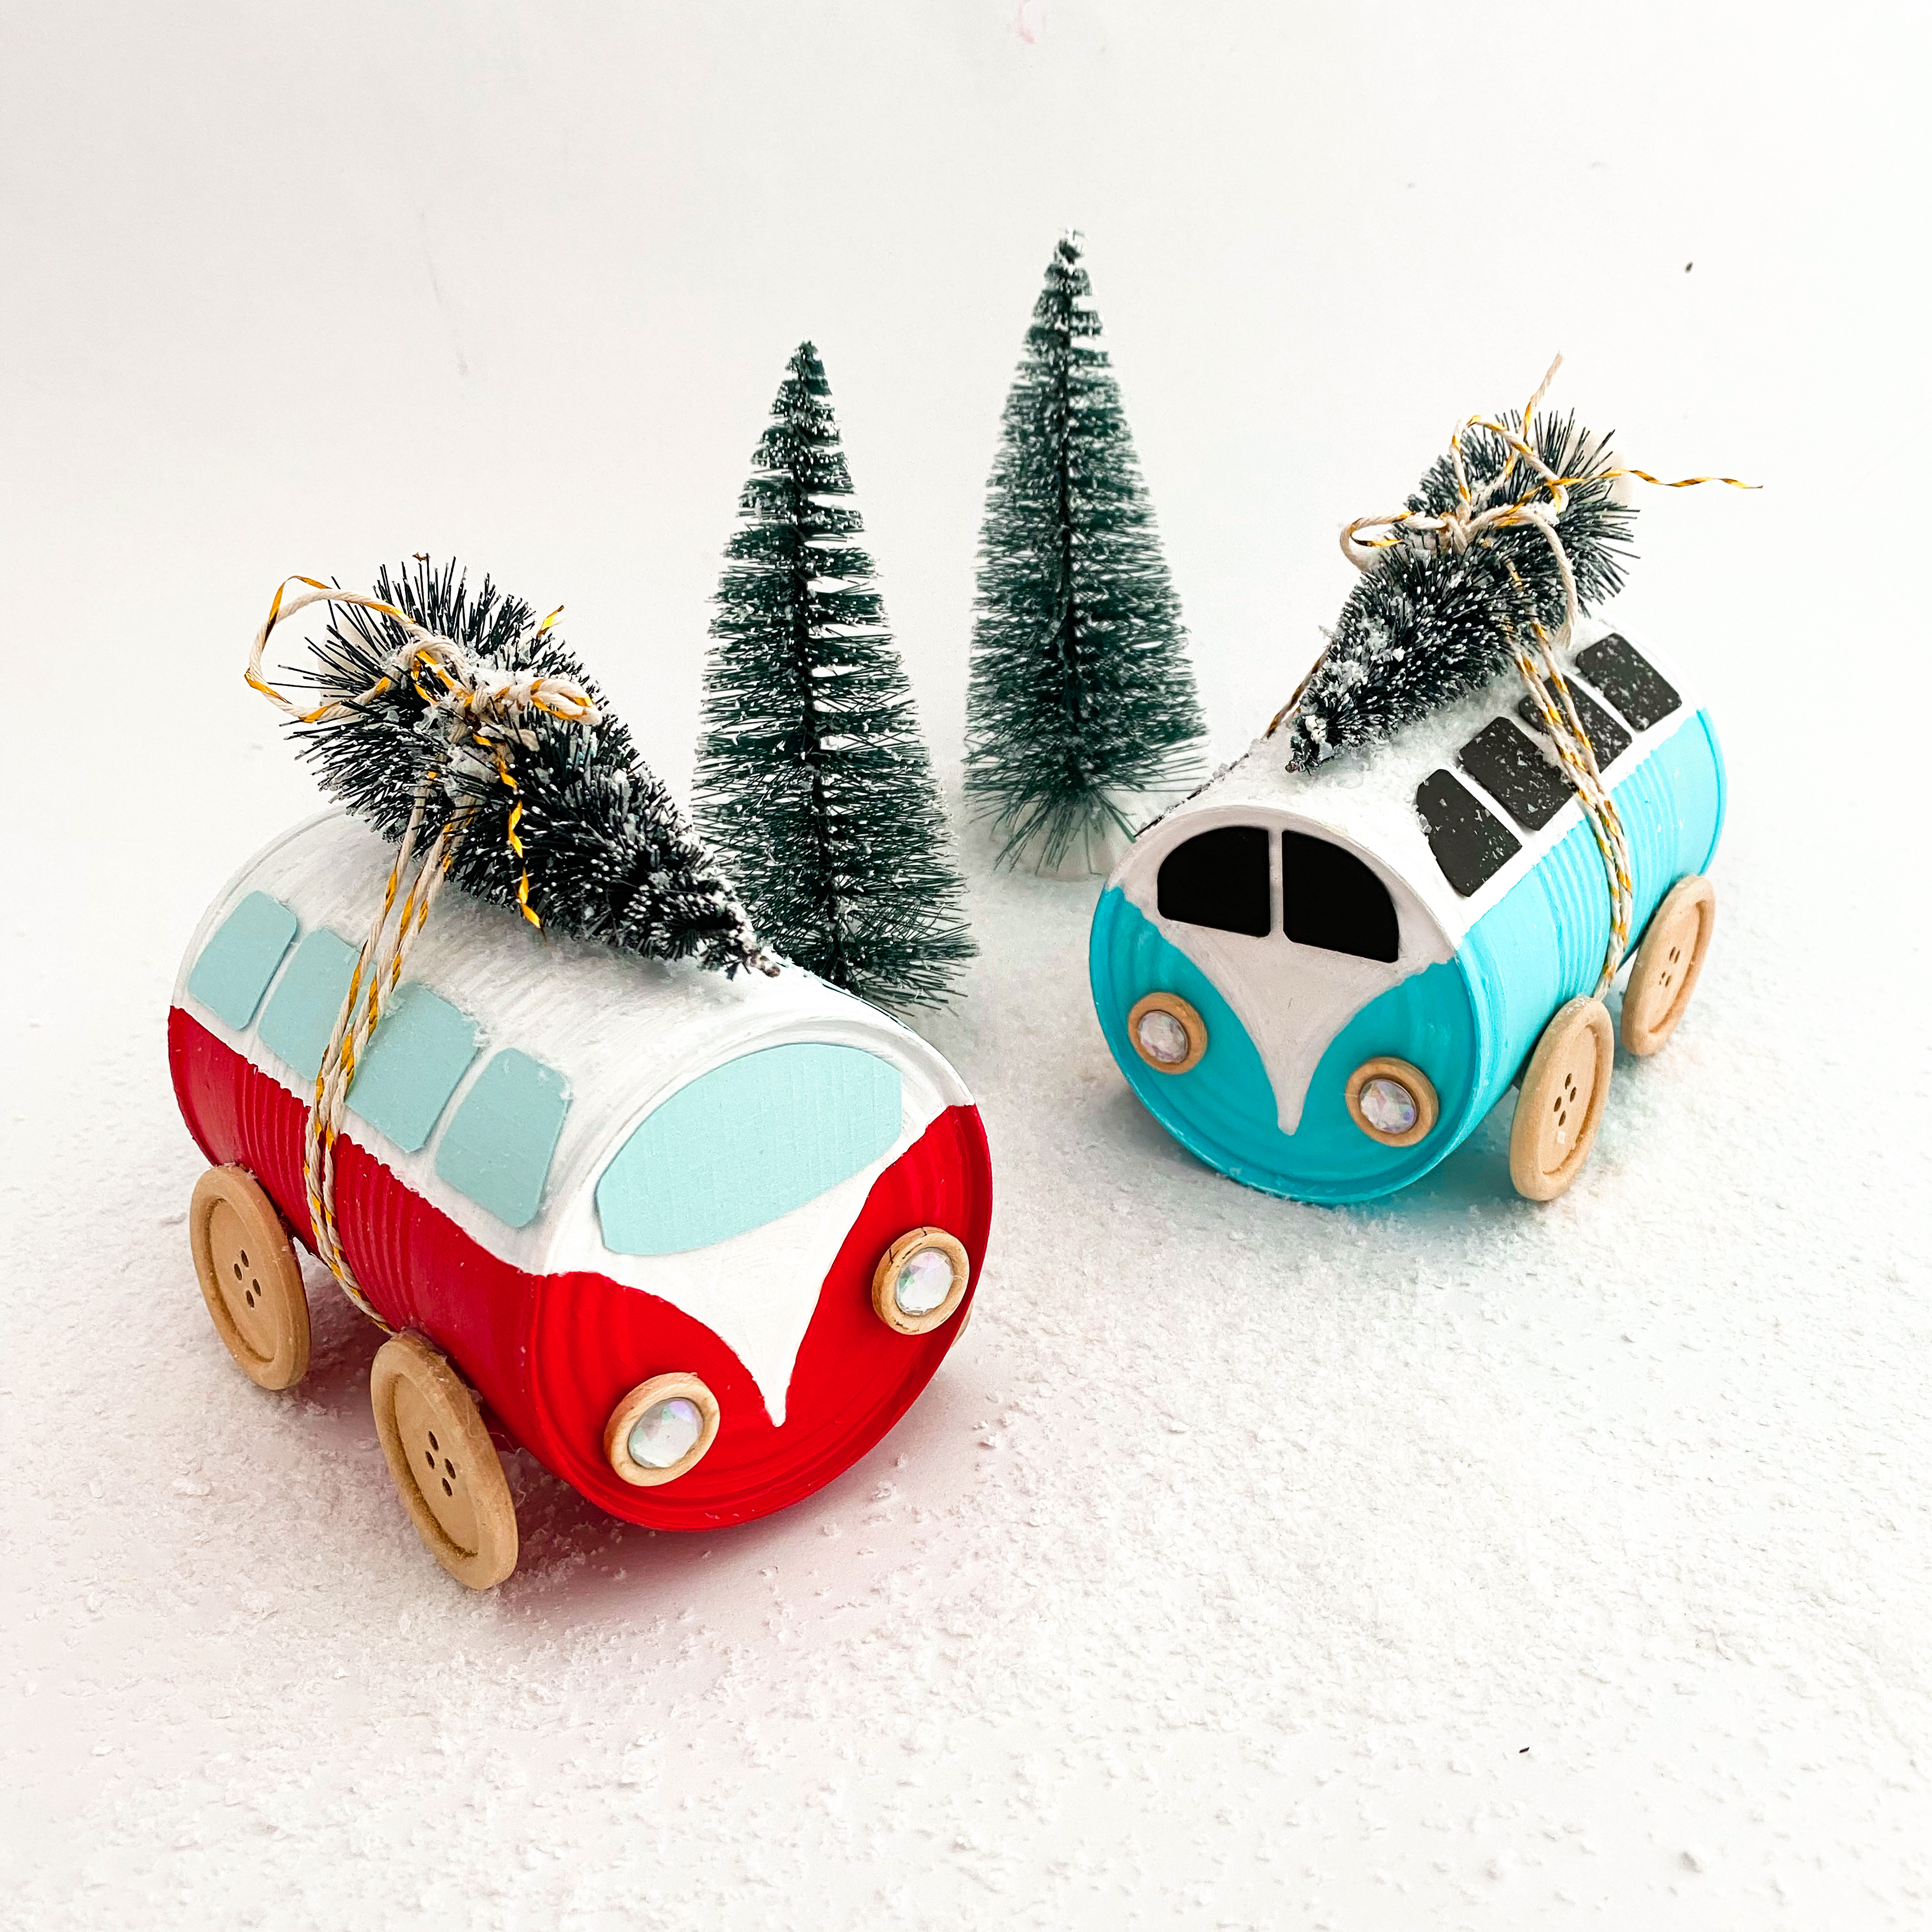
So here’s Marlon, (also known as @oceanchildcrafts) to encourage everyone to create something festive out of their empty tin cans with her “CHRISTMAS CAMPERS”
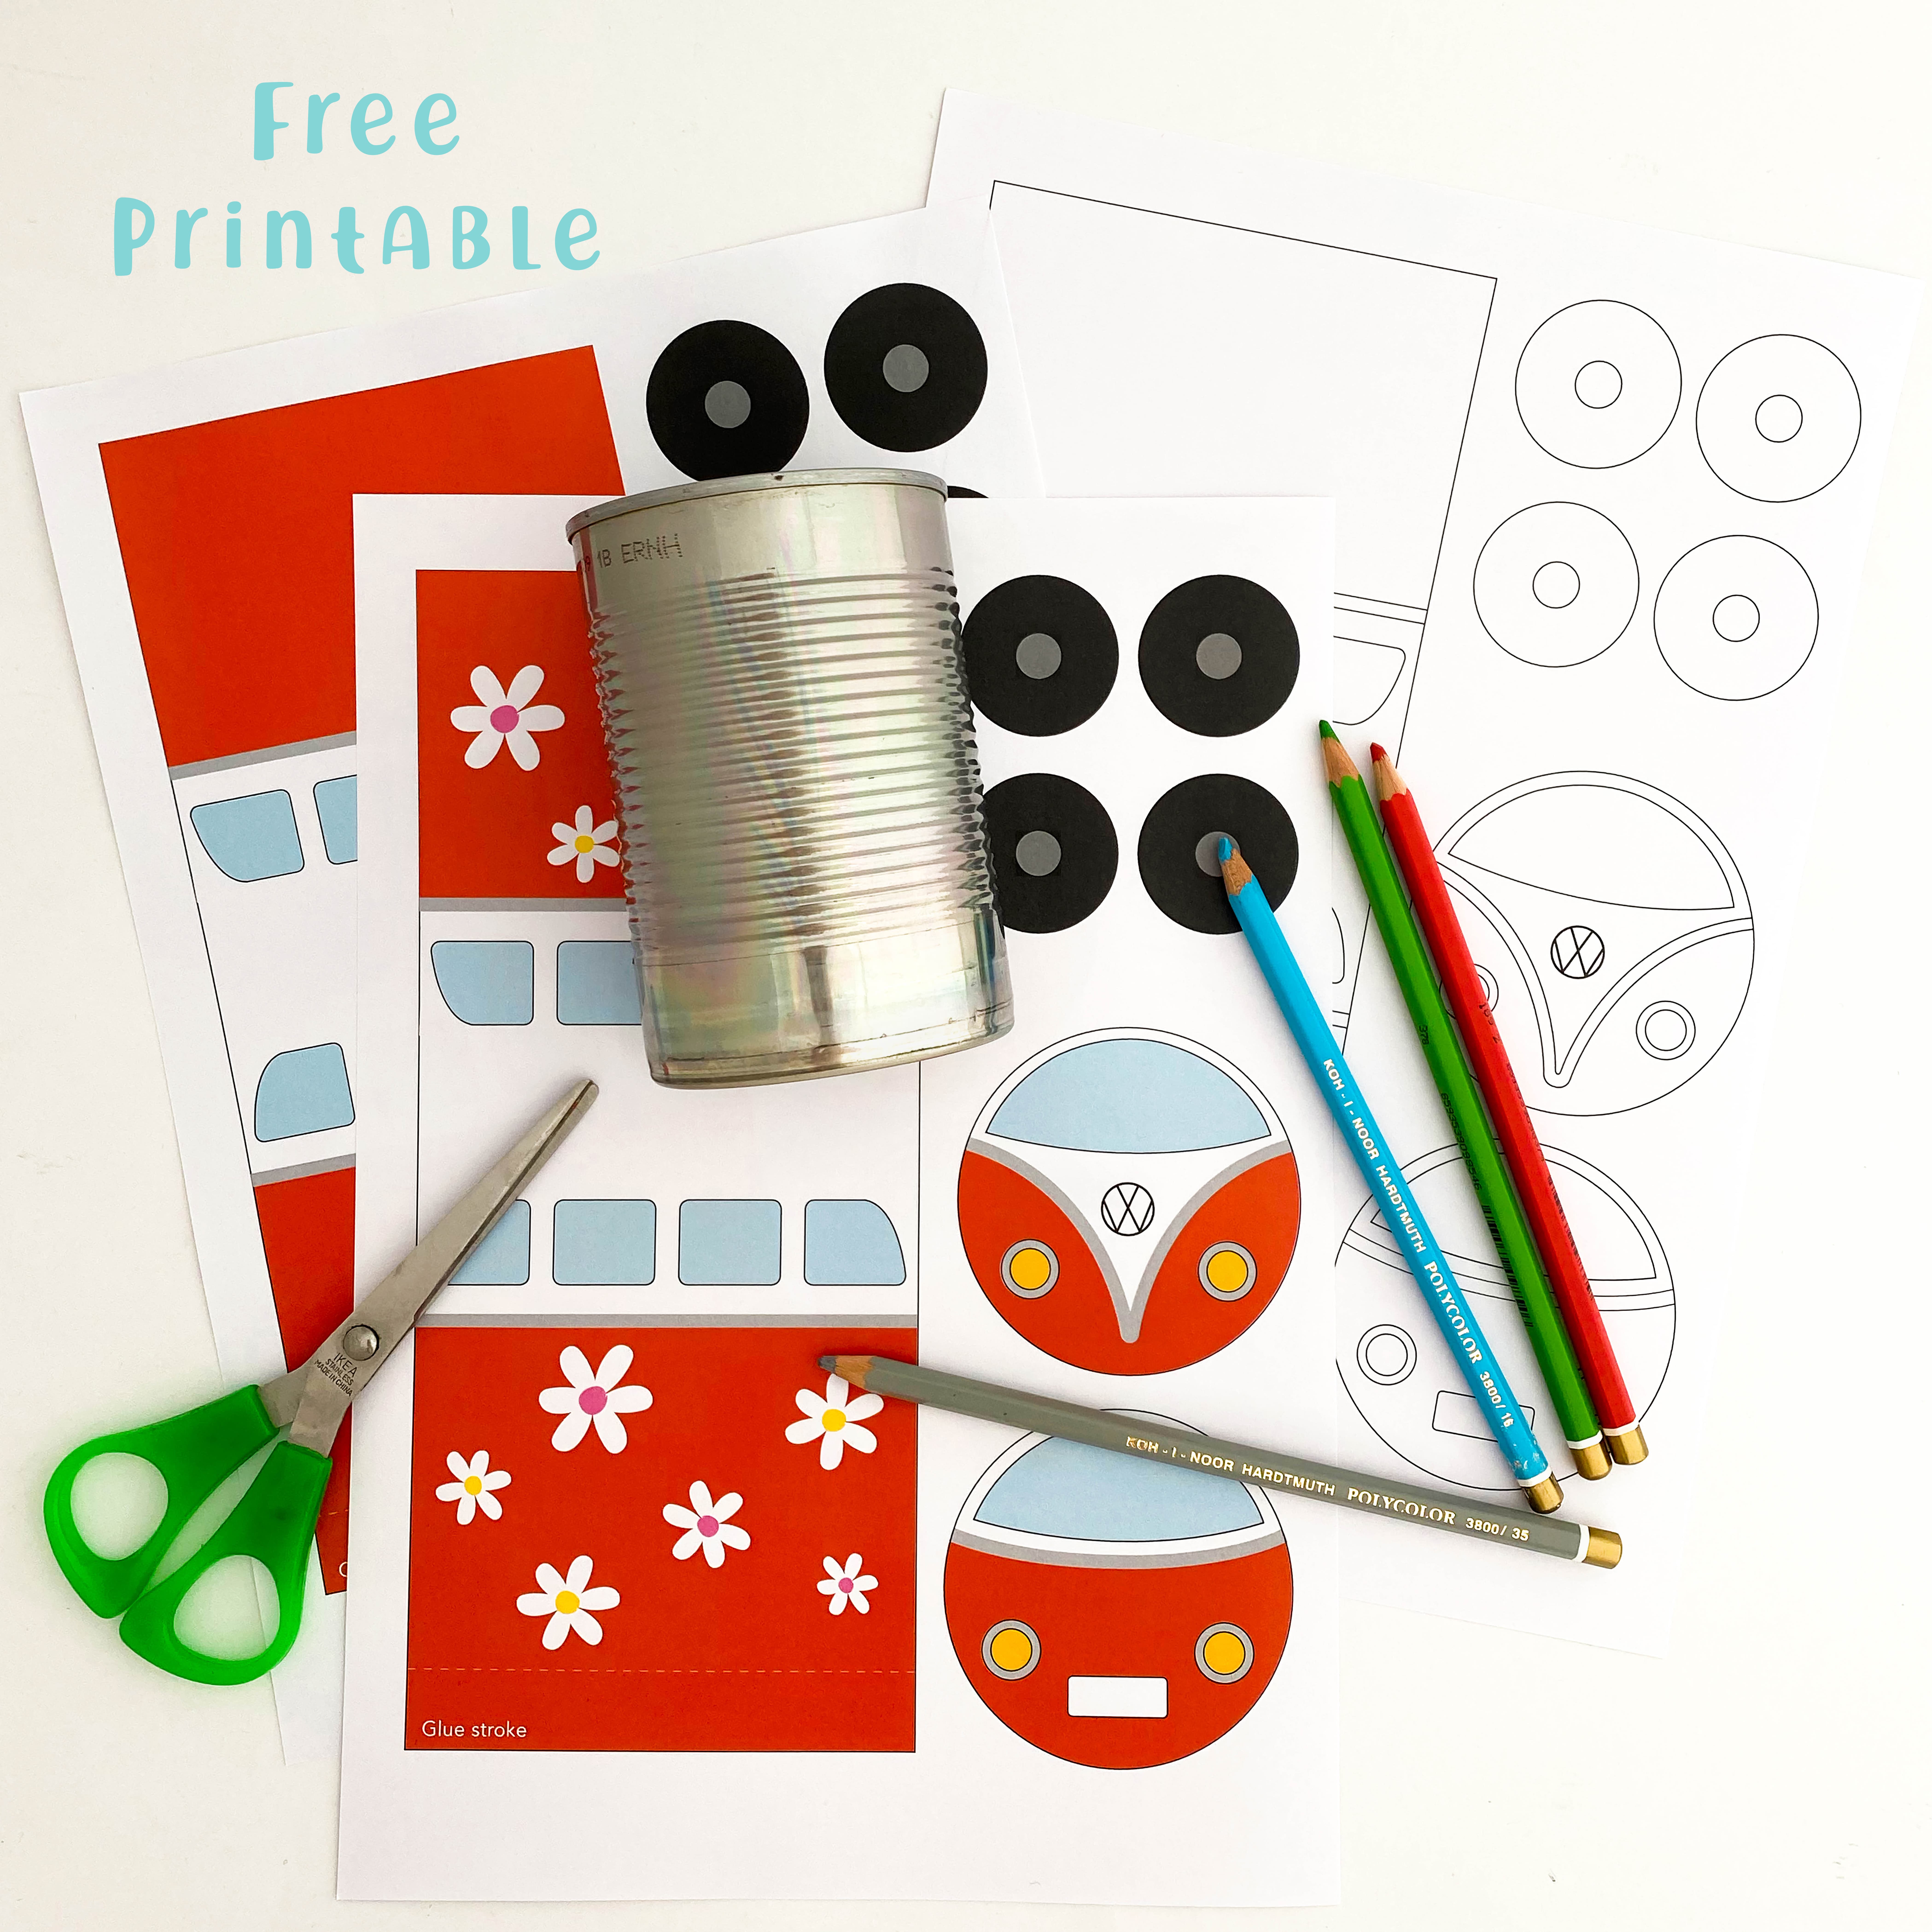
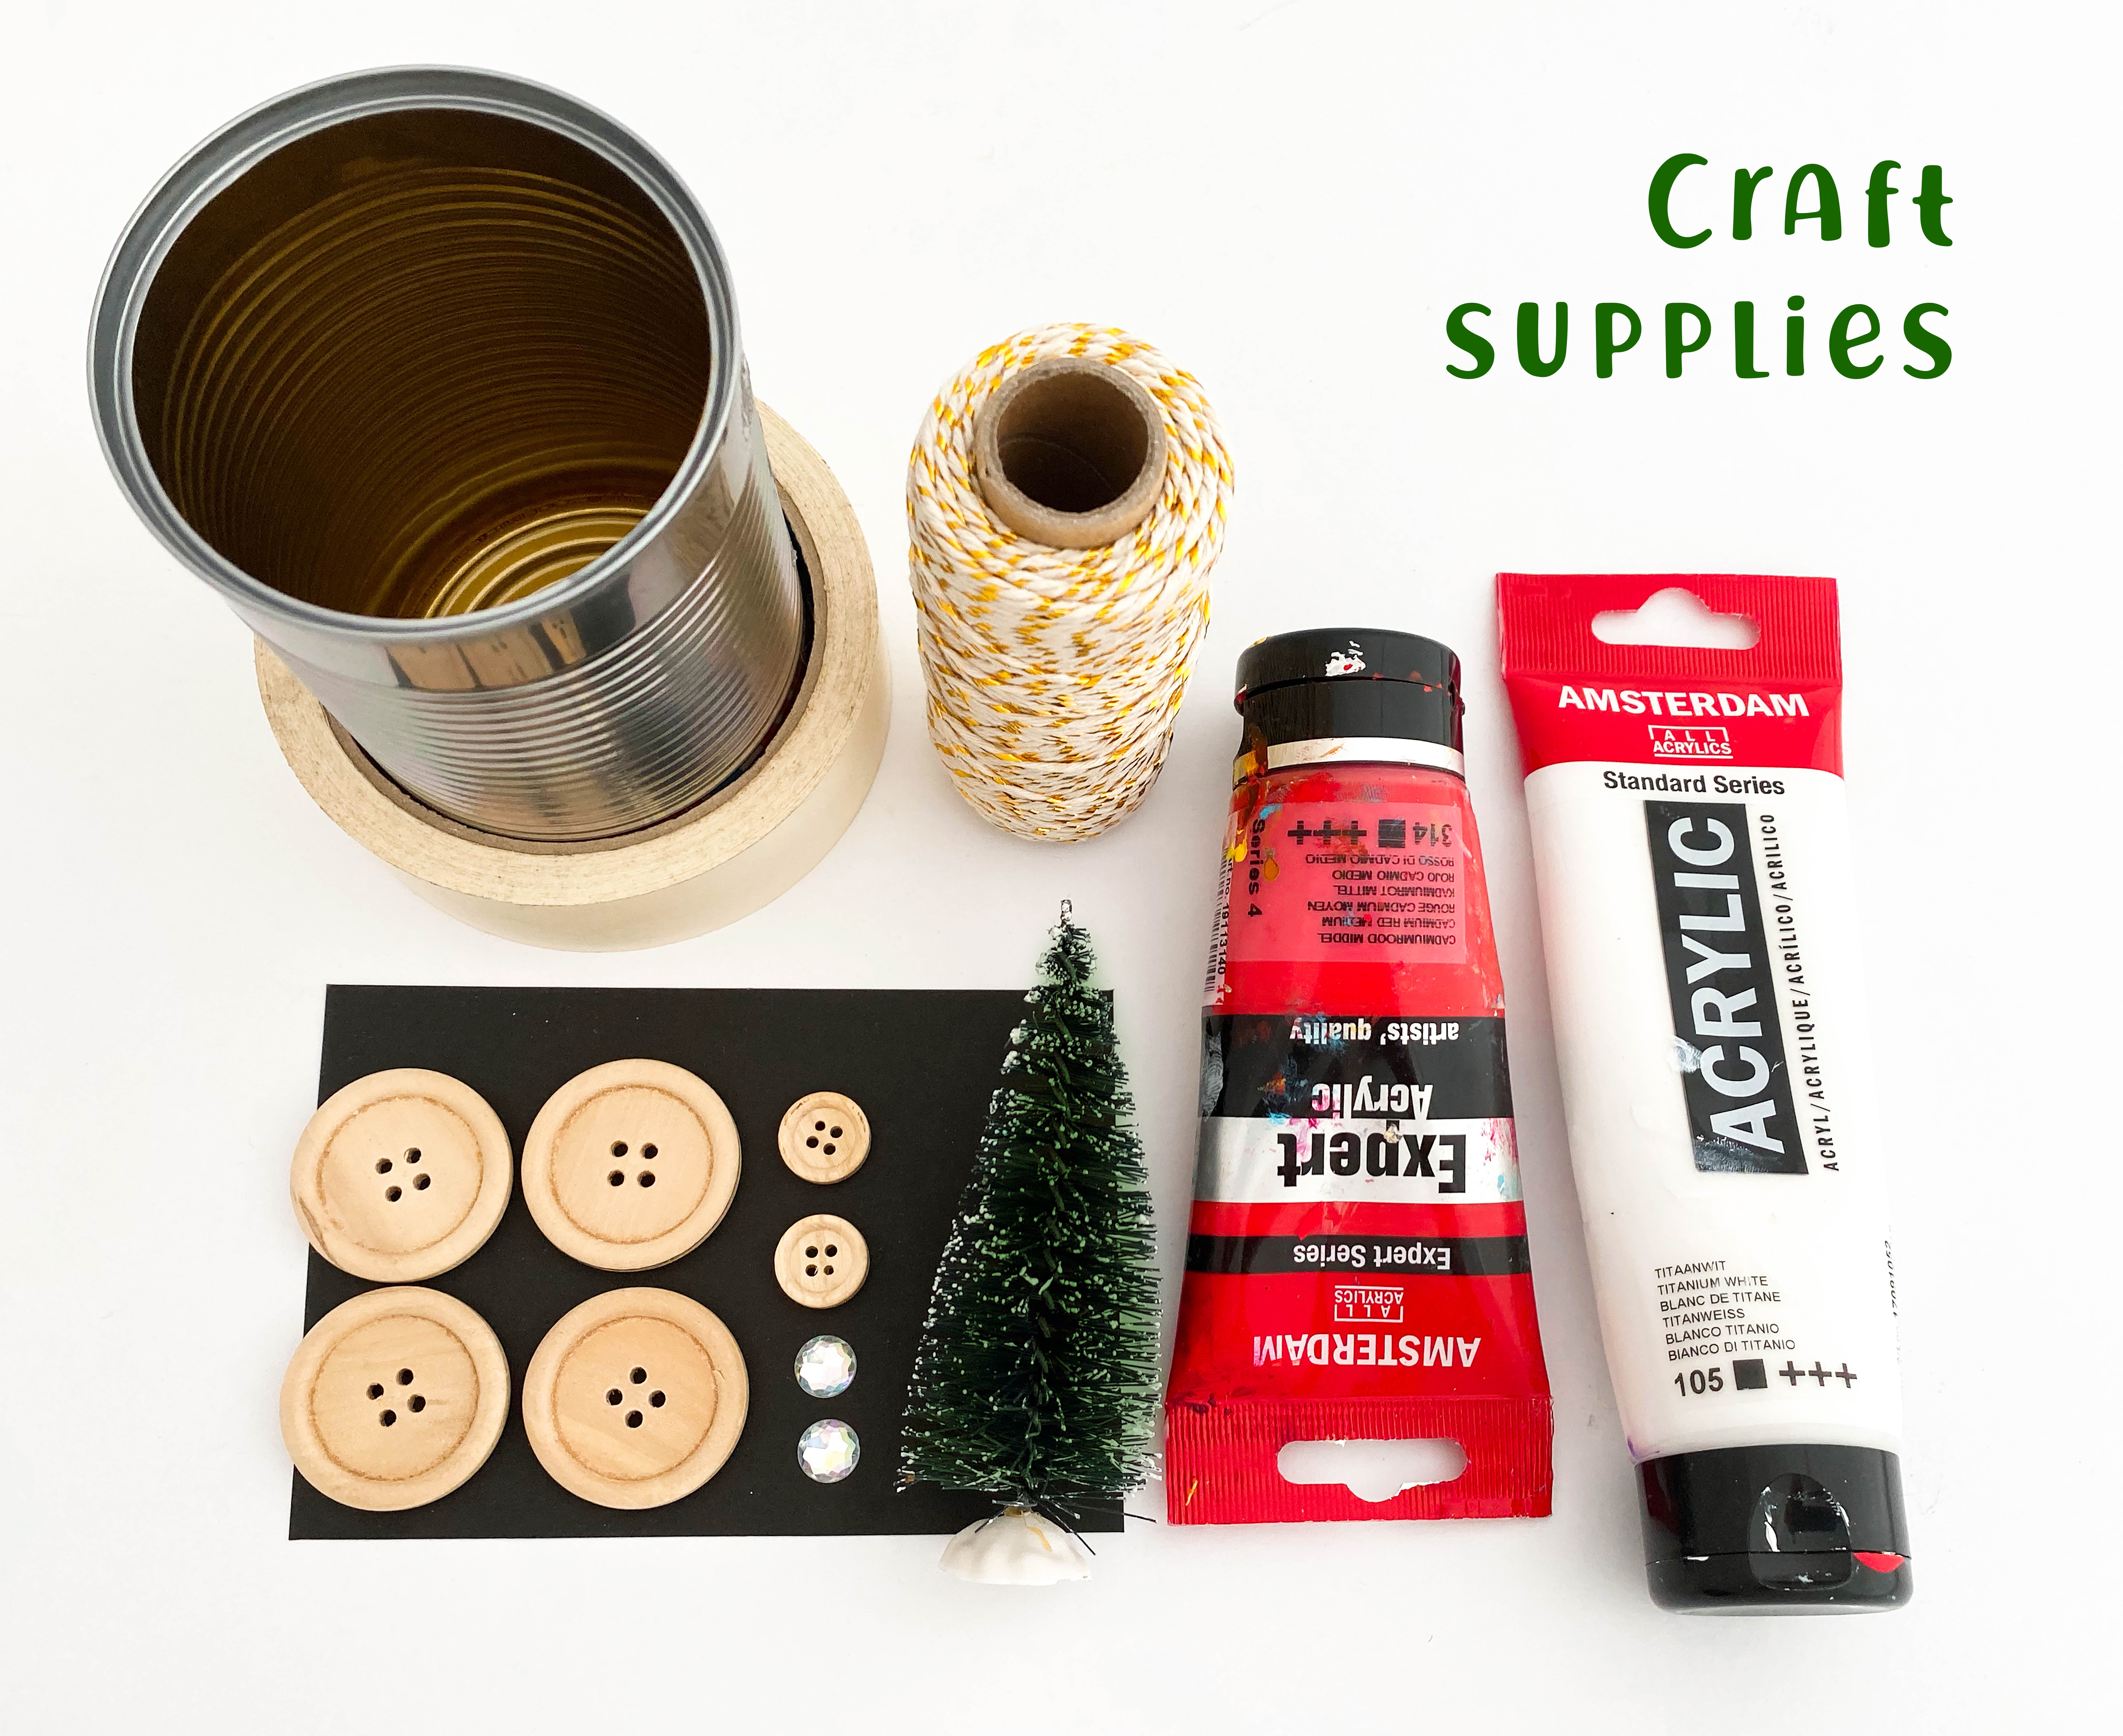
Materials:
- Kitchen Mama can opener
- Tin can
- Printable (if you like)
- White and red acrylic paint (or any color you would like to paint your van)
- Brush or sponge to paint
- Painters tape
- Light blue, grey or black paper for the windows
- 4 big buttons for the wheels (you can also use plastic lids or cardboard instead)
- 2 small buttons for the lights
- A branch from a pine tree or a small plastic pine tree
- Yarn/ribbon/rope to tie the Christmas on top of your van
- Glue, we used a glue stick and hot glue
- Scissor
Step by step craft instructions:
Step 1: Gather all the craft supplies.
Step 2: Watch the craft tutorial and print out the printable if you like.
Step 3: Take your Kitchen Mama electric can opener and open your tin can.
Step 4: Clean the can and dry it carefully.
Step 5: Take your tin can and paint it white, it might need two layers. Let it each layer dry for about 30 minutes.
Step 6: Take the painters tape and place two even horizontal stripes on the left and right side of your tin can. So, it’s easier to paint the bottom part of the van red. See craft tutorial.
Step 7: Paint the bottom and sides of your van red (or any other color you like). We used a sponge to make it quicker and easier. Let the red paint dry for about 30 minutes.
Step 8: When the red paint is dry take carefully of the painter’s tape.
Step 9: Turn the open side of your tin can downwards and draw on the top part a V-shape for the nose of your van. Leve the inside of the V-shape white and the outside red. Make sure it lines up with the red and white stripes on the outside of the van. Watch the craft tutorial to see how. Let your paint dry.
Step 10: Take some blue paper and cut eight small windows, four for each side and one big window in the front. You can always use the printable as a mall for your windows.
Step 11: Glue the two buttons (headlight) on the front side of your van, we used hot glue. If you don’t have buttons you can draw two headlights with a marker or cut them from yellow paper. On top of the buttons we glued two sequins
Step 12: Take four big buttons and glue on each side of the van two buttons (wheels). We used a hot glue to attach the buttons. If you don’t have big buttons use plastic lids or cardboard instead.
Step 13: Take a pine tree branch to use as a Christmas tree or a small plastic tree if you have one. Glue the branch with a little glue on top of the van. Take a piece of ribbon/yarn and tie the Christmas tree on top of the van like a Christmas present.
Give this can craft a try!
For more brilliant Ideas to DIY home decors, Find them on Her awesome blog Ocean Child Crafts!
Got a great idea, too?
Join us and win a iPhone 13 Pro Max ($1,199)!
