Penguin
“Creativity is about imagination, play, and fun.”
Our friend Agnes from @hellowonderful_co has this to say and this statement very well resonates with Kitchen Mama’s Can Craft Design Contest 2020!
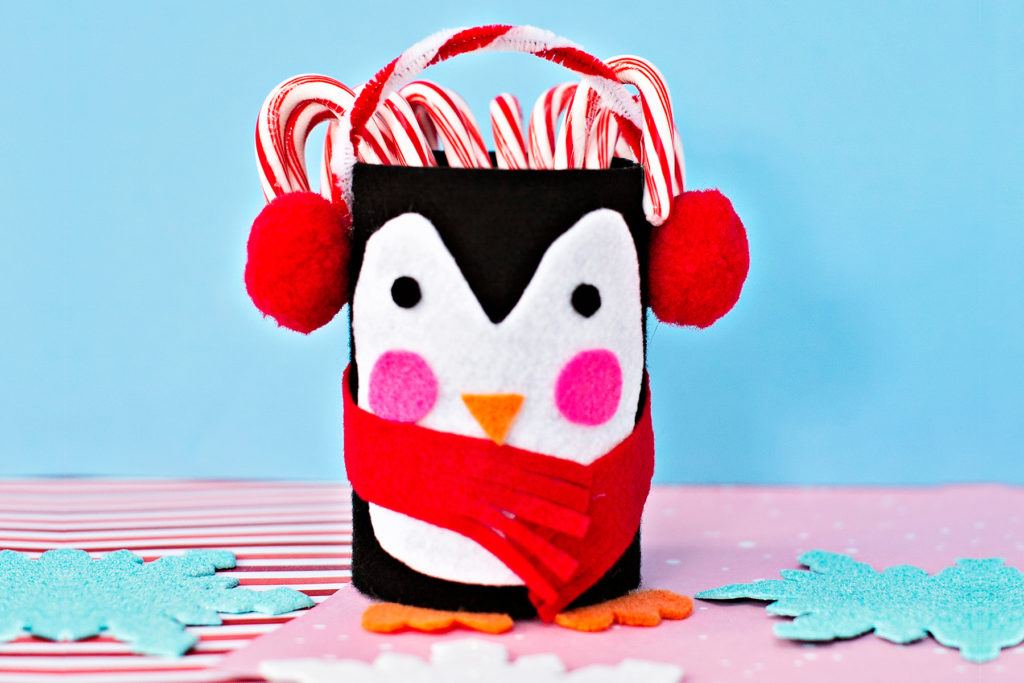
Look at the popping red color and the realistic ear muffs and cute scarf that complete our Penguin’s look! Wouldn’t you wish to live with them in the Arctic? Our Penguin Can is the perfect centerpiece to hold all your Christmas treats or you may hand him off as a delightful gift!
Follow along the instructions below to create your own Penguin Candy Holder:
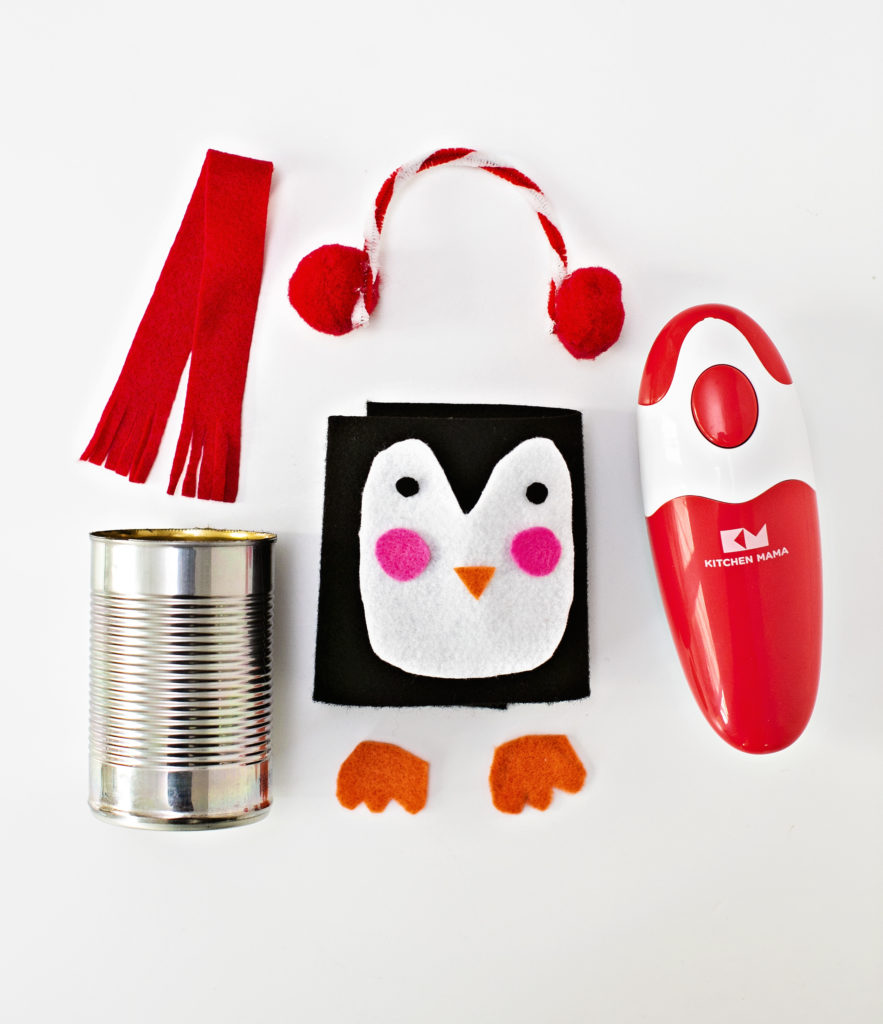
Materials:
– OUR SUPERHERO: an empty can
– Felt fabric (black, white, pink, orange, red)
– A glue gun and glue stick
– Scissors
– Red Pom Pom Balls
– Fuzzy wire (red and white /striped)
Instructions:
1. Measure the height of the can. Cut out enough black felt to cover the can.
2. Wrap the black felt around it tightly. Use the hot glue gun to glue down the felt.
3. Cut up a white felt where we will put the face of our penguin.
4. Using our other multi-colored felt fabric, prepare the following:
a. Black – Cut up a tiny pair of circles (eyes)
b. Pink – Cut up a bigger pair of circles (cheeks)
c. Orange – Cut up a tiny triangular one (nose), and a pair with three small curves (penguin’s clawed feet)
d. Red – Cut up a strip with a tassel at both ends (scarf) Set aside in the meantime.
5. Attach a red pom ball at each end of our fuzzy wire (ear muffs)
6. Assemble the face of our penguin by attaching the eyes, cheeks, nose, and feet using our hot glue gun.
7. Finish our Penguin Candy Holder’s look by adding the accessories — the earmuffs and scarf.
8. Your Penguin Candy Holder is ready for your candy canes and other treats!
Give this can craft a try!