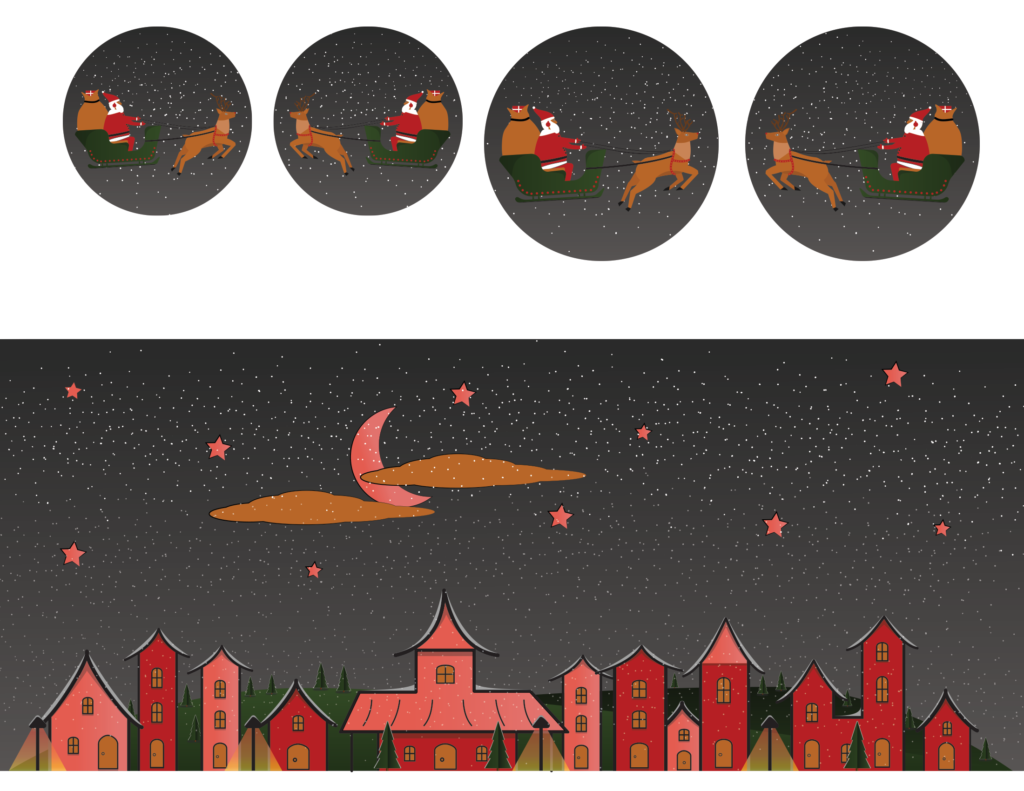
Make Your Holiday Table Glow

Looking for a fun activity to pass time this holiday season? Call your whole family, take your creativity to the next level and upcycle tin cans. Can you imagine that the drawing of it is based on a little boy?

SNOW GLOBE NIGHT LIGHT – 26 Votes

One of the participants @make_it_your_own in our Christmas Can Craft Contest 2021 turned a tin can into an awesome Snow Globe Night Light, which earned 26 votes and won one of the five special awards – The Most Creative Award!  @make_it_your_own loves getting out into nature, re-imagining recyclables, and creating! Follow them to Explore and play. 

Things You'll need

☑ Printable

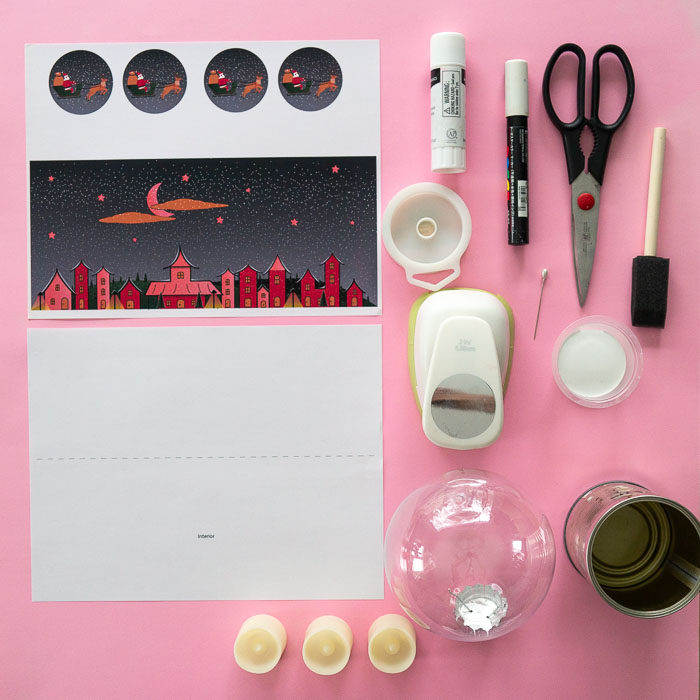
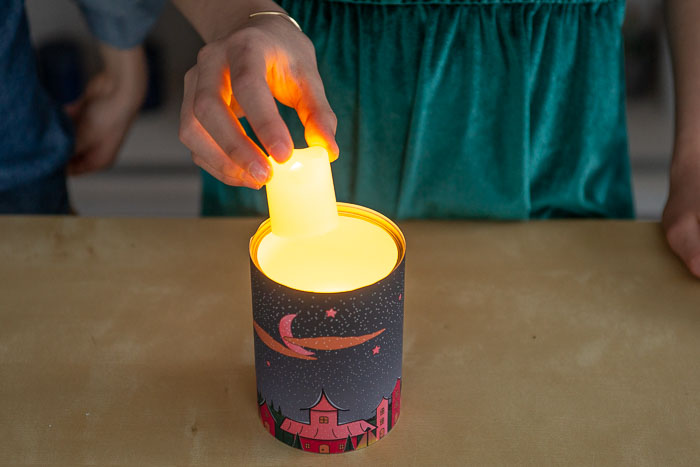
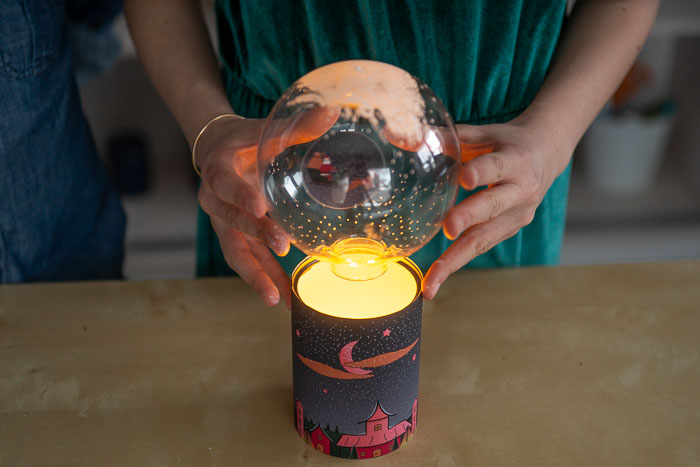
☑ A Tin can with smooth Edges

☑ Glue stick & tape

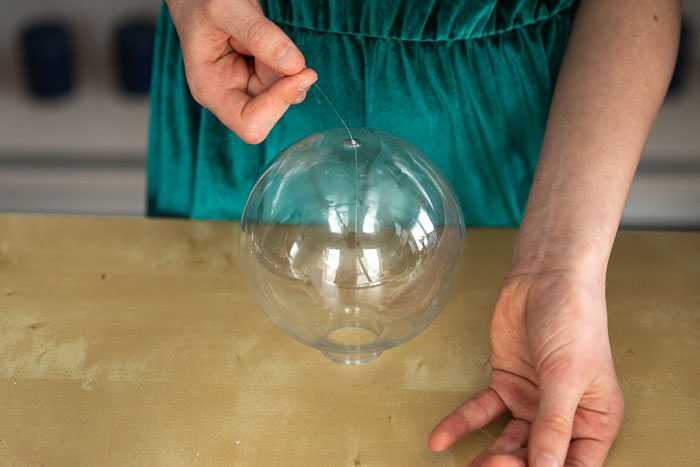
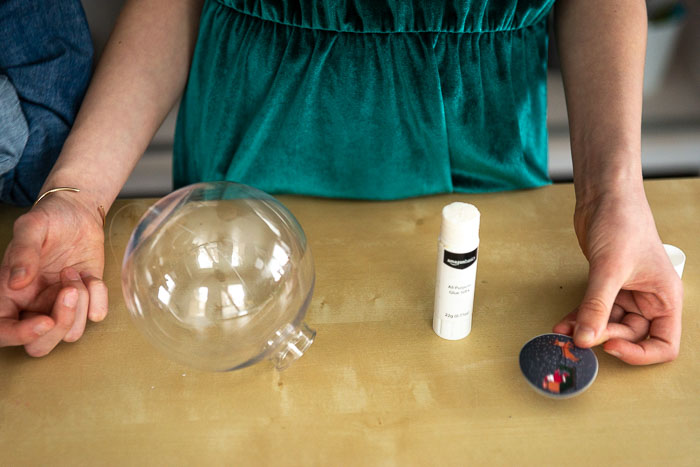
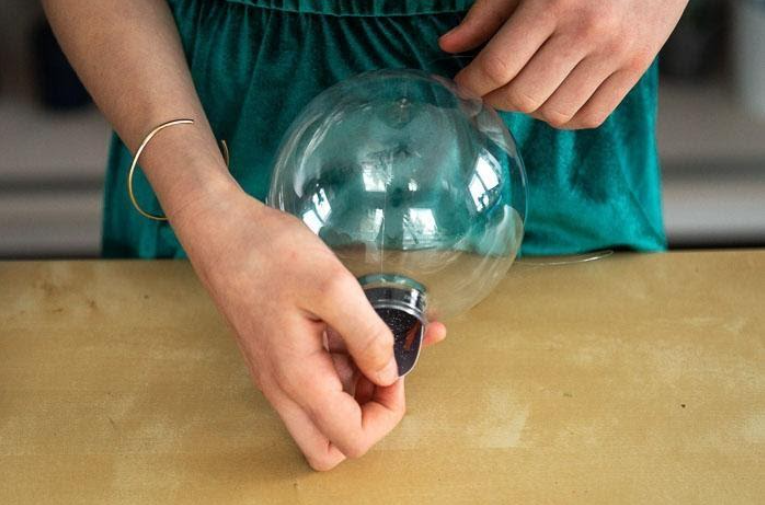
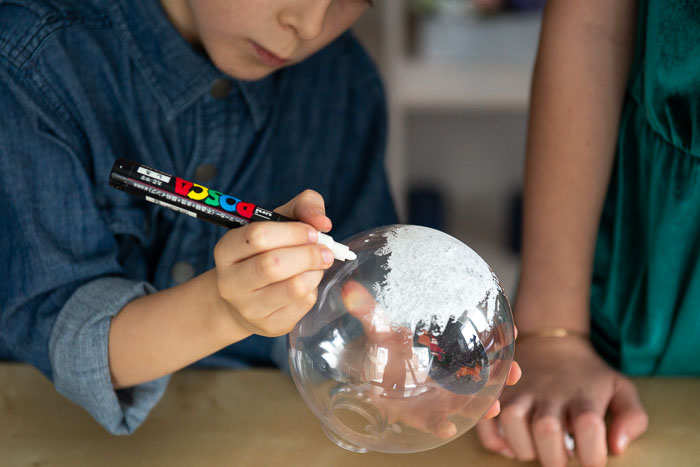
☑ Large plastic clear ornament with a                 removable cap

☑ LED lights

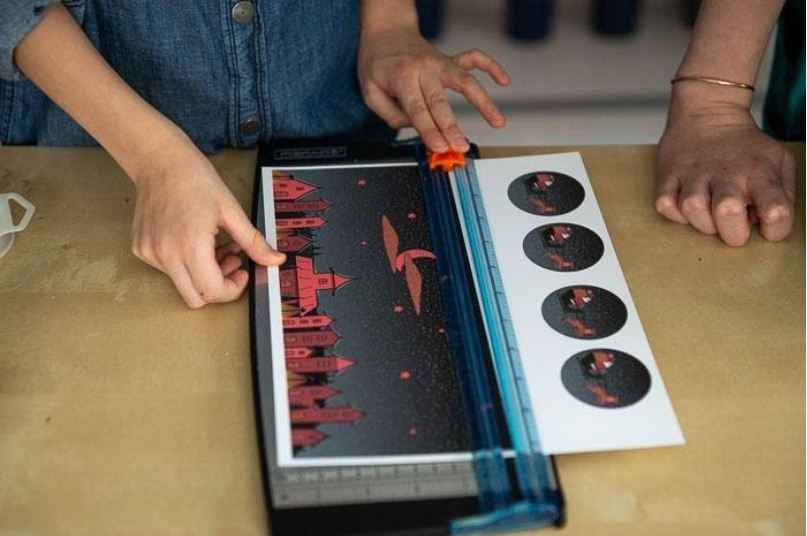
☑ 2-inch punch (or scissors)
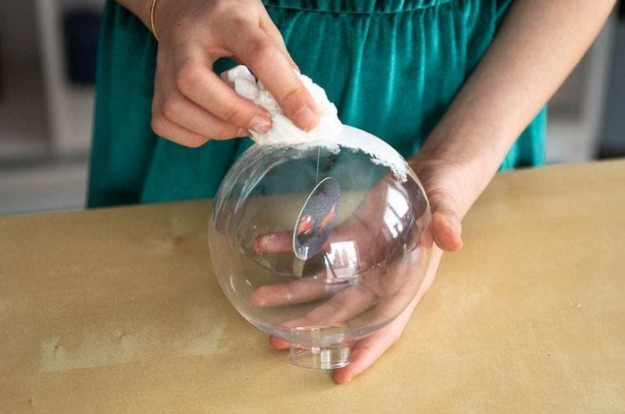
☑ White acrylic paint

☑ White paint pen

☑ Paintbrush or tissue

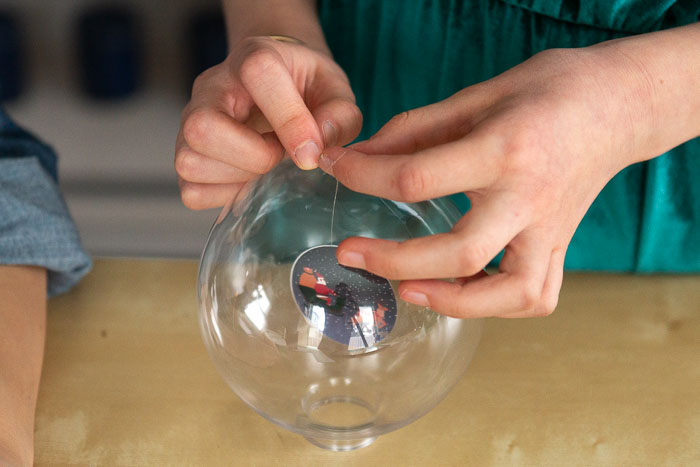
☑ Needle or pin (to be used by an adult)

☑ Fishing Line 

Materials

Instructions

How to make the snowy scene:

  1. Before you begin, make sure that you wash and dry the can and that there are no sharp edges to ensure everyone’s safety.
  2. Draw your Christmas scene or you can print what was used in this can craft based on your creativity!
  3. Cut it out with your paper cutter or scissors, leaving the white edge on one side for gluing.

How to make Santa:

  1. Use a two-inch punch or scissors to cut out two Santa pictures (you could draw your own if you like).
  2. Remove the cap of your ornament and have an adult heat up a pin or needle to make a hole in the bottom center of your ornament.

    3. Insert a piece of fishing line through the hole and push it out of the opening where          the cap was. Tape that end of the fishing line onto one of the Santa pictures (on                the white side, making sure Santa is upright and that the two sides align) and then          glue the two Santa pictures together with the fishing line in between.

    4. Gently curve Santa slightly to fit through the ornament opening.

    5. Position Santa in the center of your ornament and then tie a knot at the bottom               (where you made a hole). Cut off any excess fishing line.

How to make the Clouds:

  1. Apply white paint to the ornament where your tiny knot is, this will serve as the clouds. To make them look a bit more realistic, use a sponge and/or a tissue to dab the paint on. Allow drying thoroughly.
  2. Apply snow falling from the clouds and at the end where the globe sits on the can with a white paint pen. Skip the center portion, so you can see Santa clearly.

Putting Your Snow Globe Together

  1.  Print out the white liner and insert this into your can. This will help create a soft         glow.
  2. Add your led tea lights to your can, turned on. (DO NOT use real tea lights with a      flame as this will melt the ornament and is a fire hazard).

     3. Place your ornament into the can (with the area where the cap would have been             going in first). This will make the globe. 


        Turn off the lights and watch your very own tin can snow globe night light glow!

This night light will bring the magic of the season and make your spirits bright. You can keep it around the house as a joyful decoration or use it as a table centerpiece.


So, what are you waiting for? Call your kids and start creating your own Snow Ball Night Light and great Christmas memories!


Do you want your family to bond and connect by creating great projects? Get some ideas from @make_it_your_own_ !!