DIY can wrapping gift for your loved ones
(Entry from Quebec, Canada)
In winter, snow is just a reminder that prepping for Christmas is a most urgent task. The smell of pine, the warmth of indoor heaters, the bright Christmas lights decorating the porches, fresh wreaths and garlands hanging on the doors, and other ornamentations are a welcoming sight. What a warm feeling it radiates despite the cold season!
Whereas most of the US is spring-ready by March, it isn’t so in Quebec, Canada. No wonder we have our proud can craft designer Stephanie who simply named her craft SNOW CAN. (For obvious reasons!)
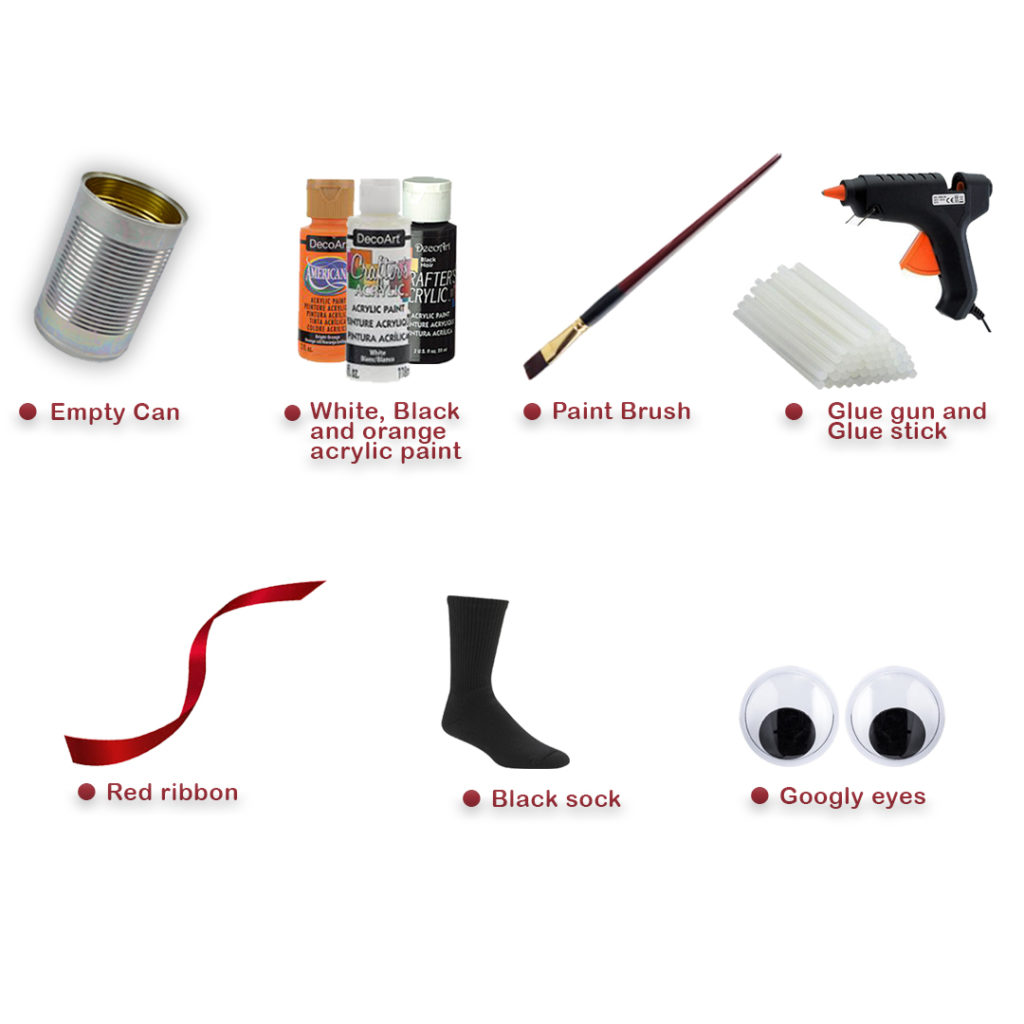
Materials:
SUPERHERO: an empty can
1. Acrylic paints and a paintbrush
2. A glue gun and glue stick
3. A black sock
4. A red ribbon
5. Googly eyes
6. Makeshift materials to become the mouth, nose, and ears
7. Paper strips and a small present/scented wax/handwritten message to put inside the can
Instruction:
- Use an empty can with a ring-pulled tab. Open the can on the underside. (Do not open through the ring-pull tab.)
2. Place shredded paper strips and a small present, scented wax, or a special hand-written message inside the can.
3. Re-seal the can with its lid using a glue gun.
4. Paint the can with white acrylic paint.
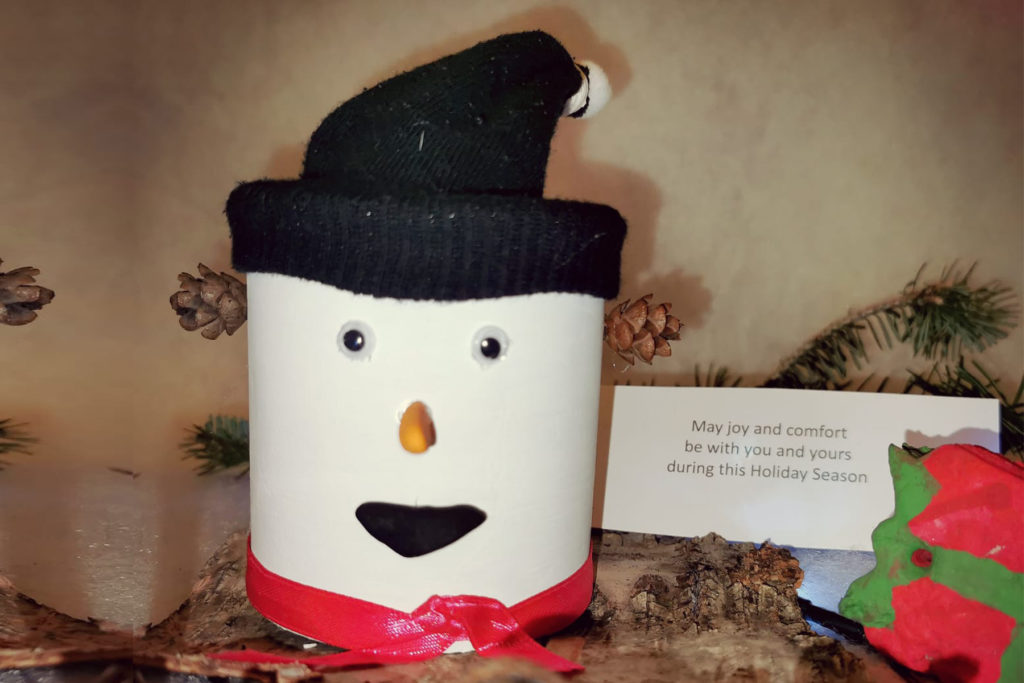
5. Make sure that the ring-pull tab is on the topside. Paint the makeshift mouth, nose, and ears to emulate a snowman’s face.
6. Now, glue in the face of our snowman –the googly eyes, the ear-muffed ears, the carrot nose, and the smiling mouth.
7. Wound a red ribbon on the bottom of the can to look like a snowman’s scarf.
8. Put on the black sock on top of the can. Cut the top with just the right amount of cloth to look like our snowman’s hat. Attach round cotton to achieve that winter bonnet look.
9. Give your can to someone special and let him open the SnowCan and be in for a treat! Merry Christmas!